-
Prerequistes
|
Step
|
Detail
|
|
2 servers:
|
|
|
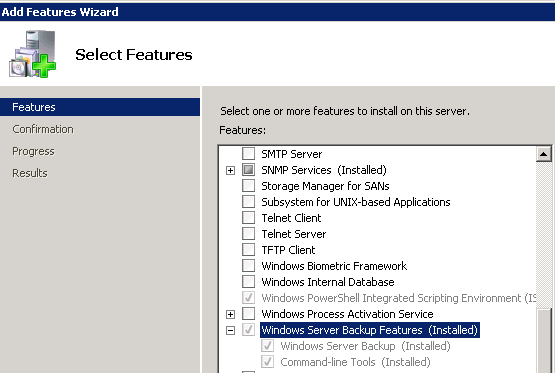
'Windows Server Backup' feature installed on the staging server
|
|
|
The Citrix utility 'CVHDMOUNT.EXE' is installed on the staging server
|
|
|
'Backup' space (approx. 100GB)
|
|
|
VMWare VMDK hard disk of a greater size than the PVS disk:

|
Copy and install required drivers on staging server
|
Step
|
Detail
|
|
From a Windows Server, browse to a server with Citrix Provisioning Services installed on it.

|
|
|
Copy the drivers folder and CVhdMount.exe to the server

</td> </tr> | |
|
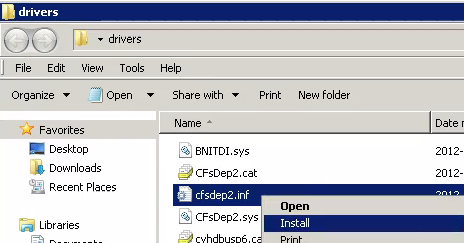
Open the drivers folder, right-click on cfsdep2.inf and select "Install"
</td> </tr> | |
|
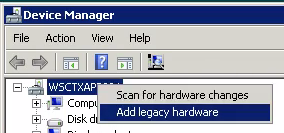
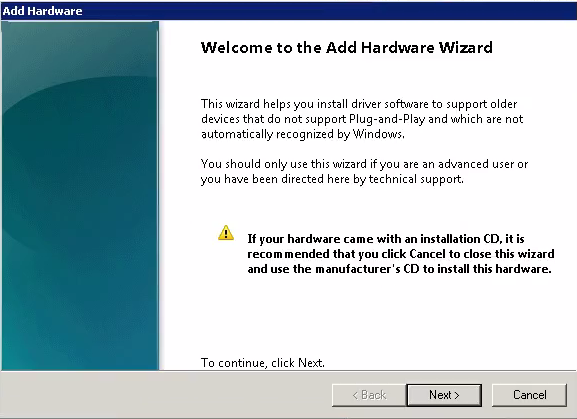
Open Device Manager, right-click the computer name and choose "Add Legacy Hardware..."
|
|
|
Select "Next"
|
|
|
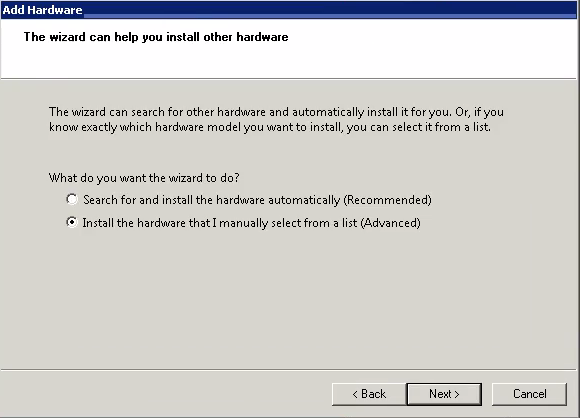
Select "Install the hardware that I manually select from a list (Advanced)" and click "Next"
|
|
|
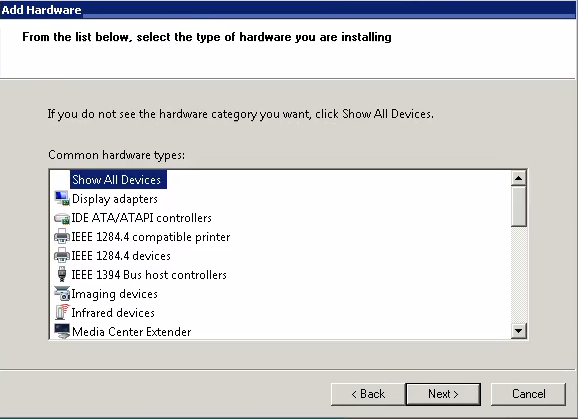
Click "Next"
|
|
|
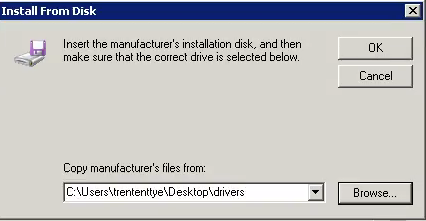
Click "Have Disk..."

|
|
|
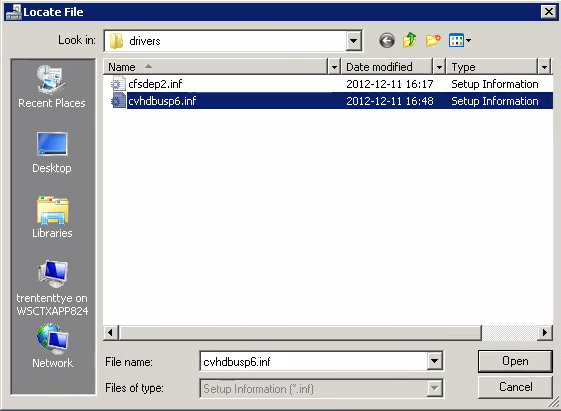
Click "Browse" and go to the "drivers" folder and select "cvhdbusp6.inf" and click "Open"
|
|
|
Click "OK"
|
|
|
Ensure "Citrix Virtual Hard Disk Enumerator PVS" is listed and click "Next"

|
|
|
Click "Finish"

|
|
Step
|
Detail
|
|
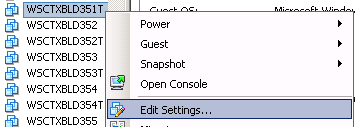
Open the "VMWare vSphere Client"
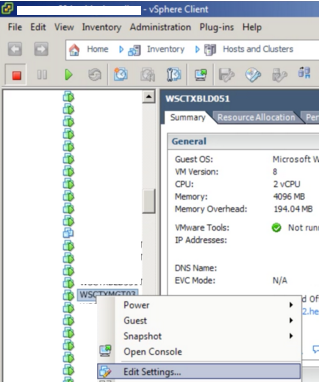
Right-click on the server you want to do the cloning on and click 'Edit Settings...'
|
|
|
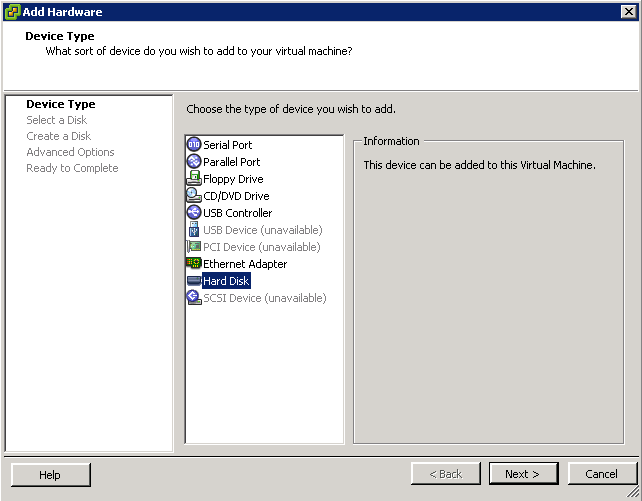
Under the 'Hardware' tab, click 'Add...'

|
|
|
Select 'Hard Disk' and click 'Next'

|
|
|
Select 'Create a new virtual disk' and click 'Next'

</td> </tr> | |
|
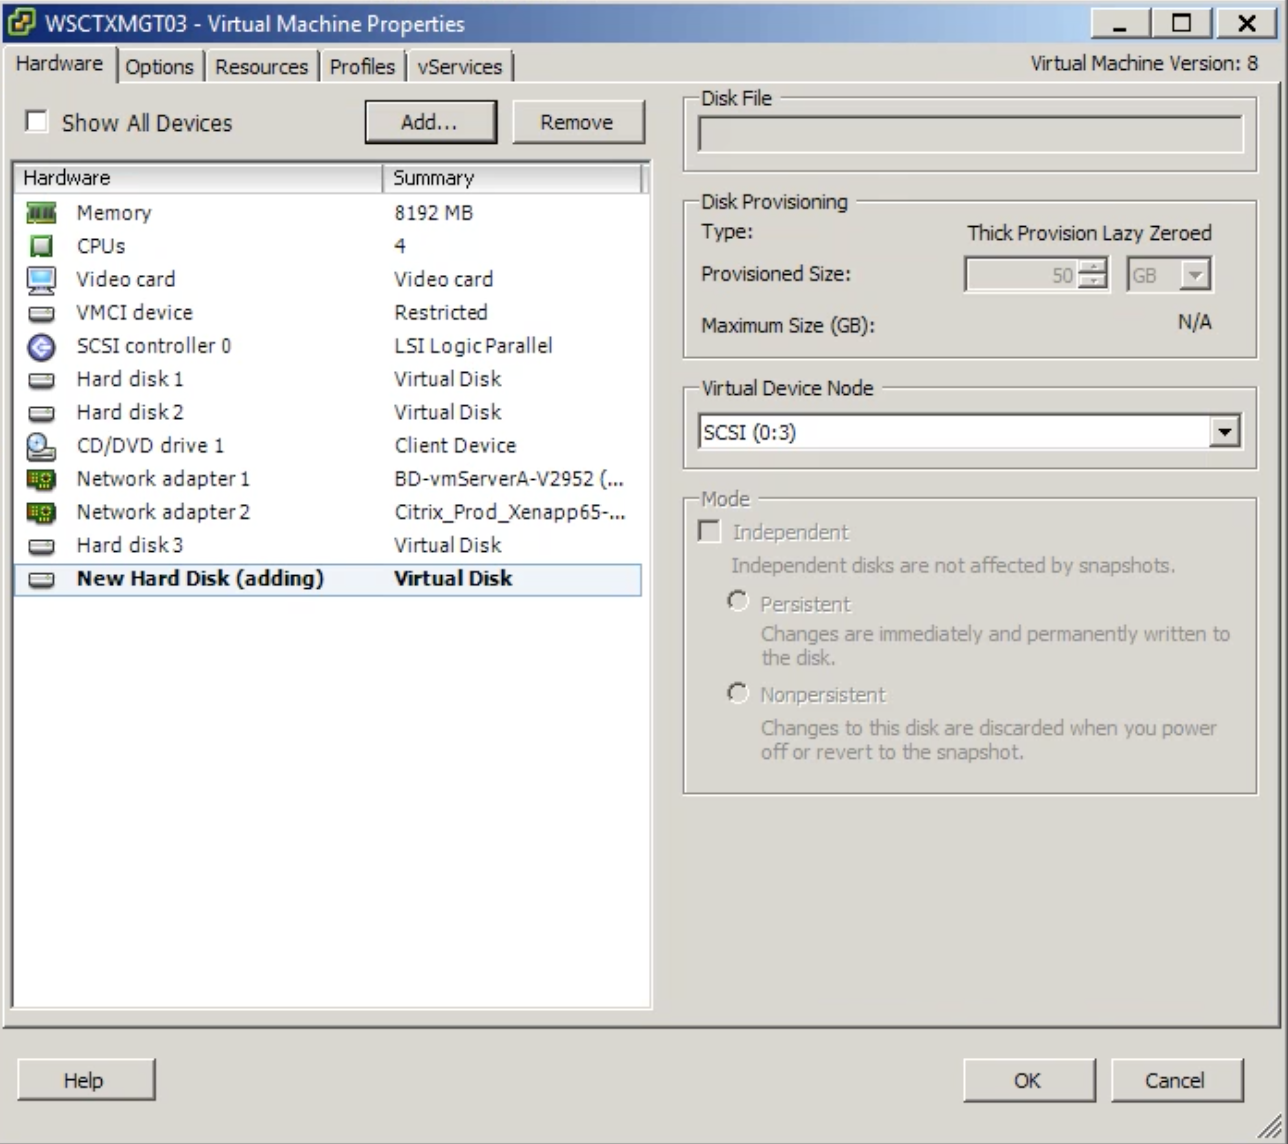
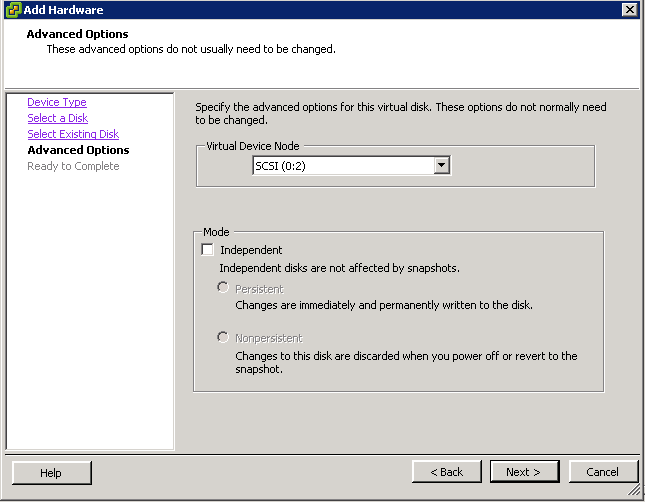
Set the 'Disk Size' to be greater than the size of the VHD file, select the 'Disk Provisioning' options you require, select the 'Location' you want to store the disk and remember where it is stored. You will need this location soon. Click 'Next'

|
|
|
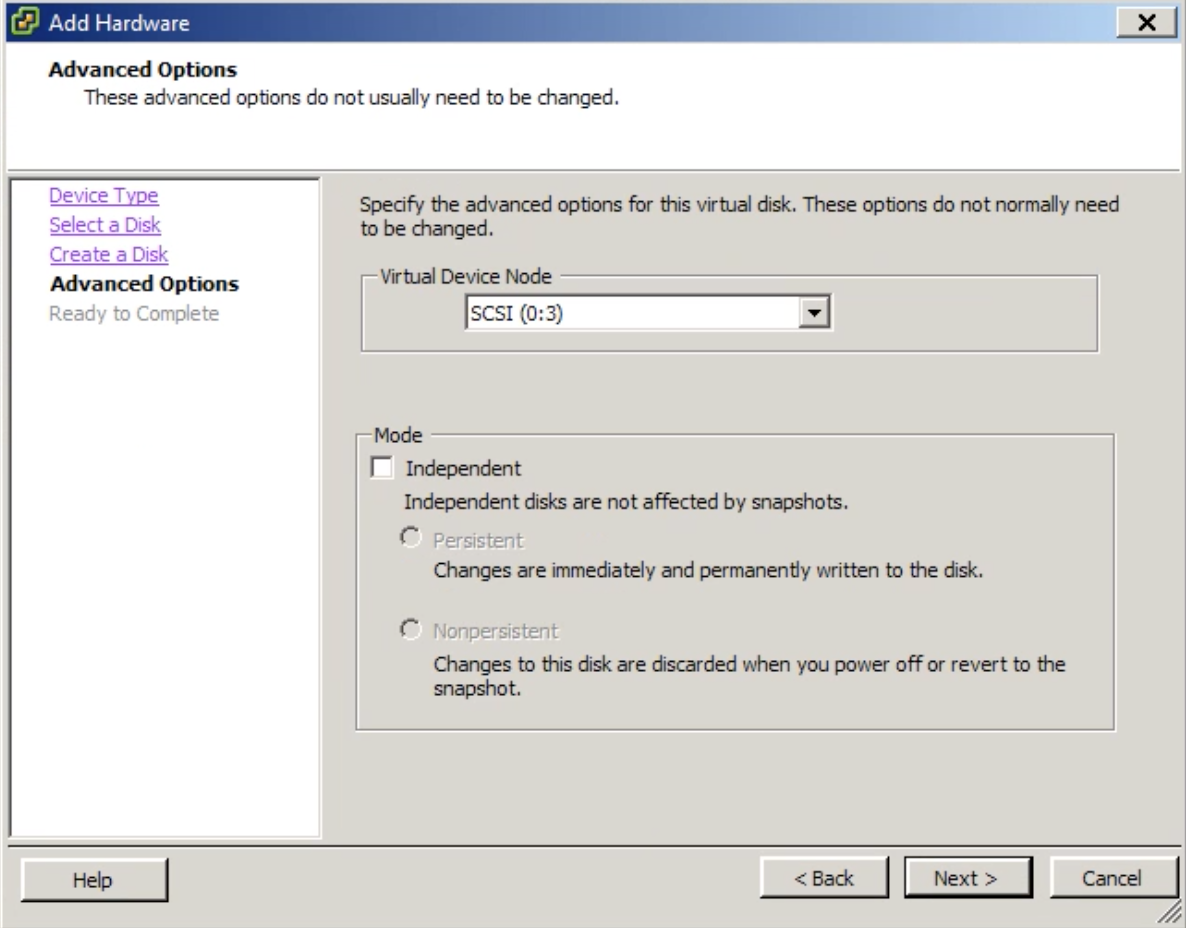
Click 'Next'
|
|
|
Click 'OK'
|
|
|
Format the disk and set it as active

|
|
Step
|
Detail
|
|
RDP into the staging server and mount the VHD file you want to update:
Cvhdmount.exe -p 1 \serversharevDisks-&XenApp65tn01.13.avhd

|
|
|
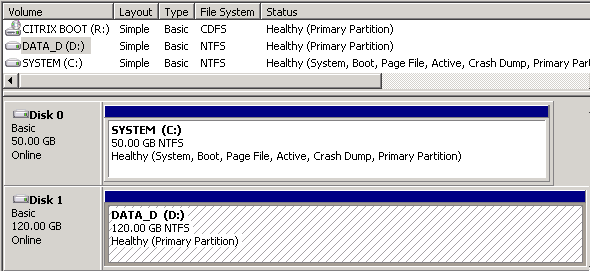
Open Disk Management and confirm your Citrix VHD is mounted and the new VMWare disk is present

</td> </tr> | |
|
Open 'Windows Server Backup'
|
|
|
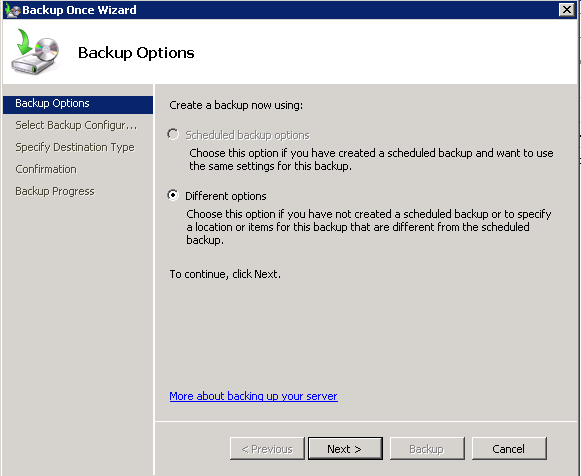
Click 'Backup Once...'

|
|
|
Select 'Different options' then 'Next'
|
|
|
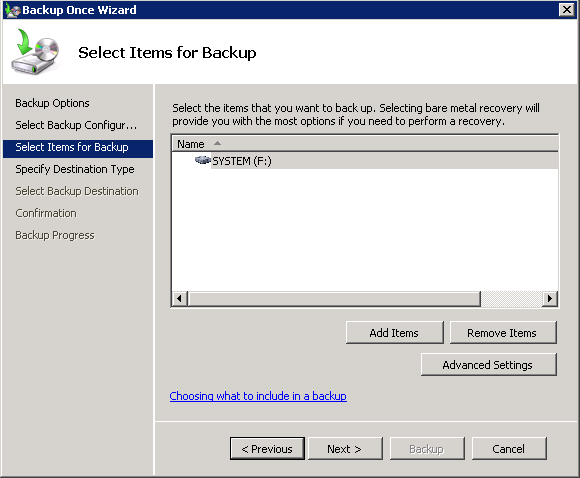
Select 'Custom' than 'Next'

|
|
|
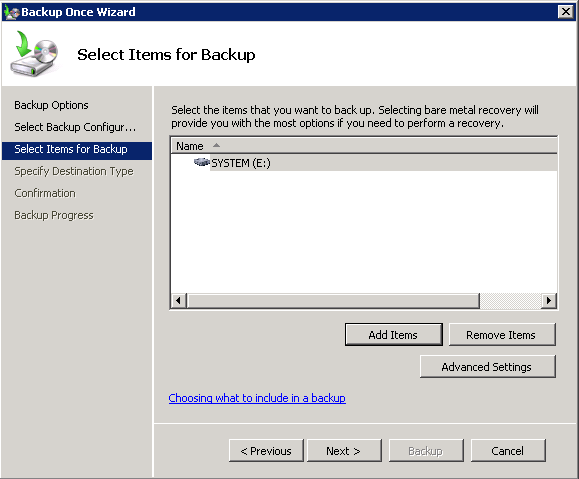
Select 'Add Items'

|
|
|
Select the PVS disk and click 'OK'

|
|
|
Click 'Next'
|
|
|
Select 'Local drives' and click 'Next'

|
|
|
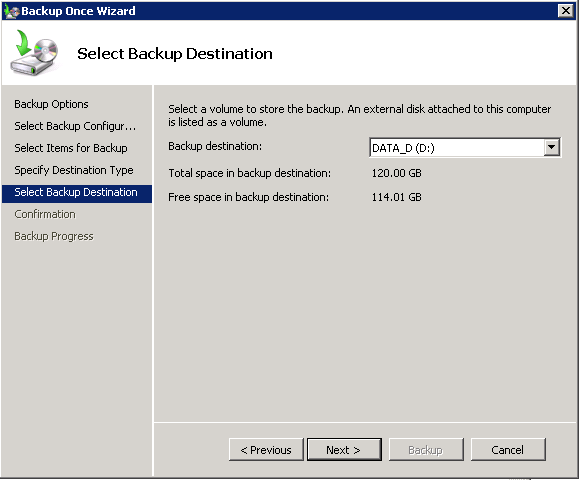
Select the 'Backup Destination' and click 'Next'
|
|
|
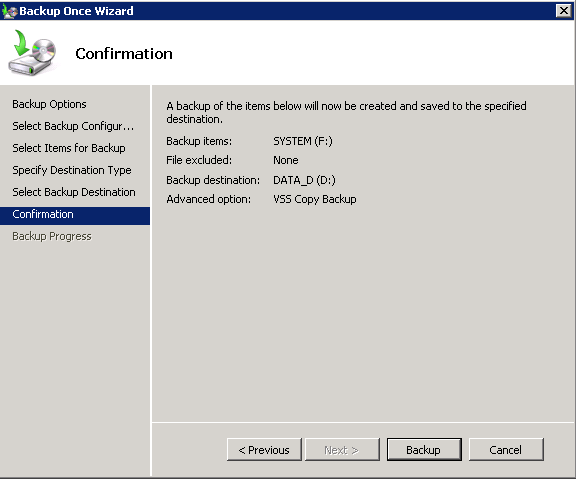
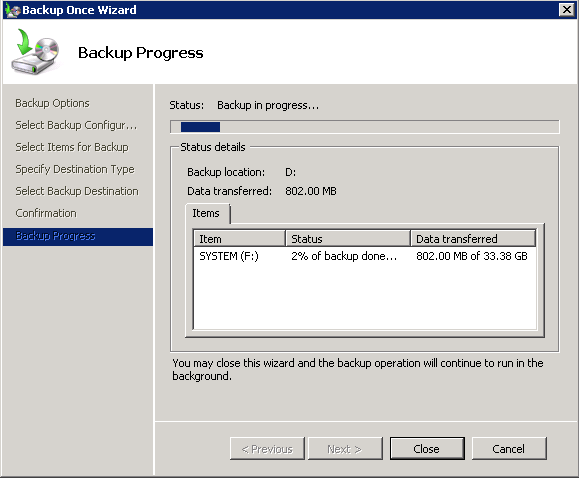
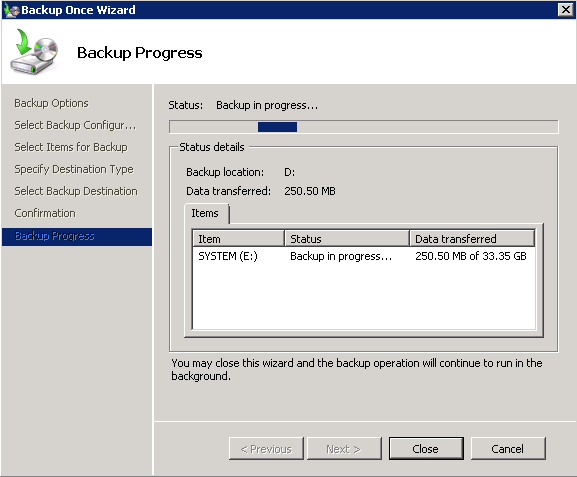
Click 'Backup'
|
|
|
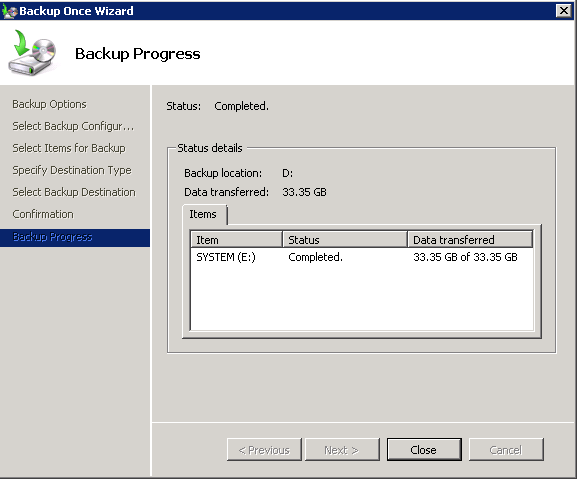
Wait for the backup to complete
|
|
|
Click 'Close'

|
|
Step
|
Detail
|
|
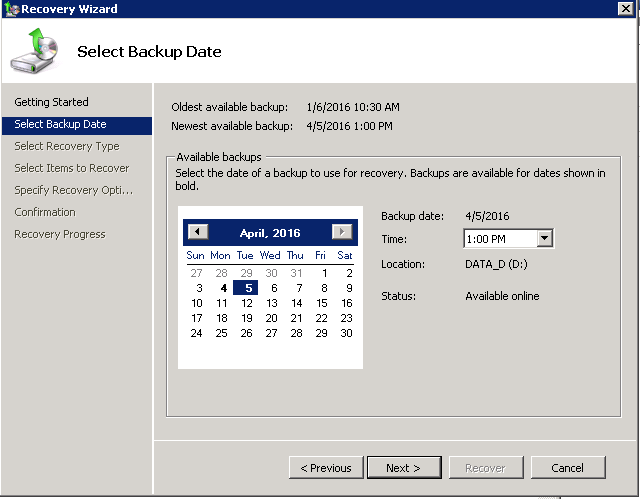
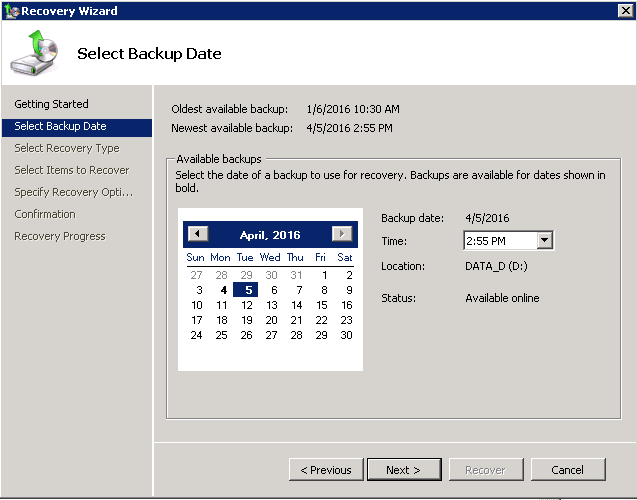
Click 'Recover'

|
|
|
Select 'This server' and click 'Next'

|
|
|
Click 'Next'
|
|
|
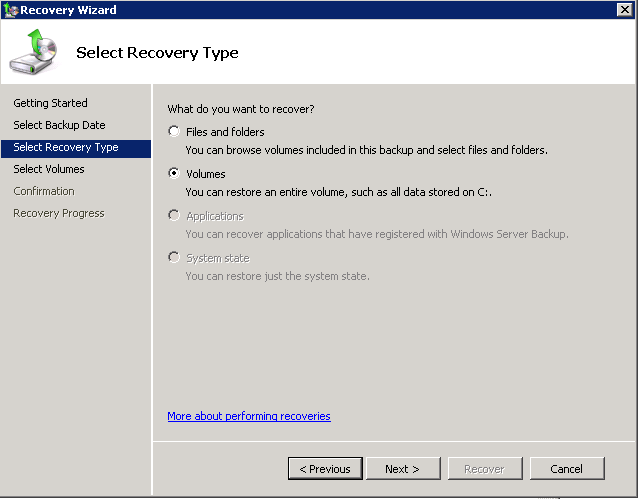
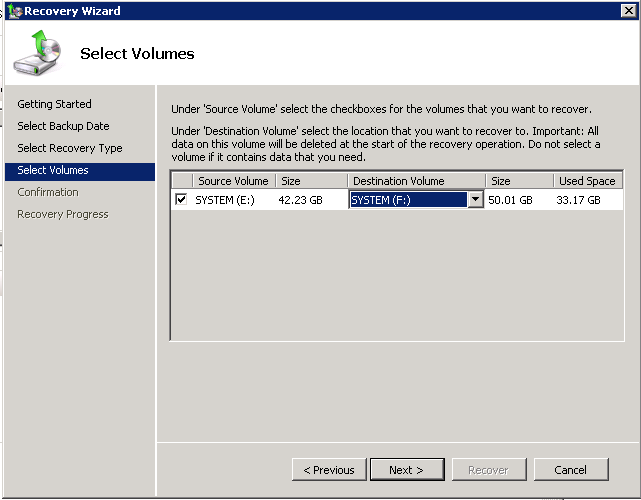
Select ''Volumes' and click 'Next'
|
|
|
Select the checkbox beside the volume and choose the 'VMDK' for the destination volume and click 'Next'

|
|
|
Click 'Yes'

|
|
|
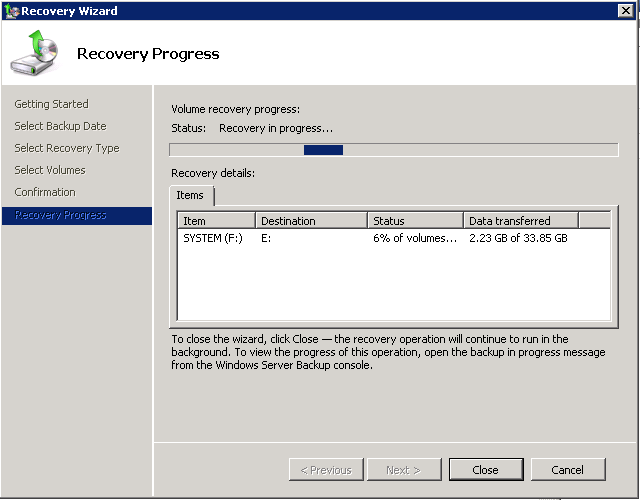
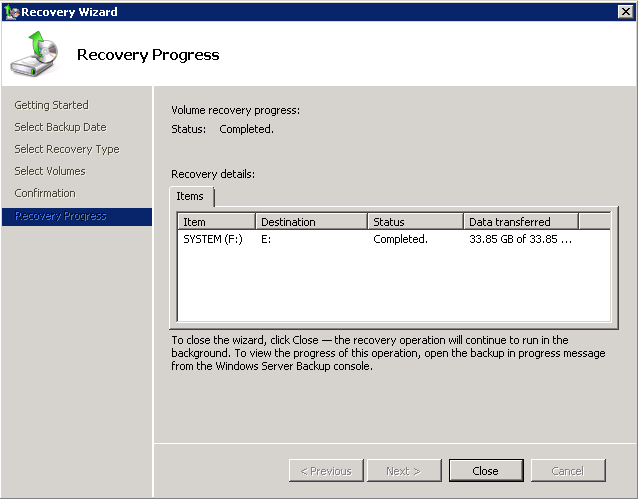
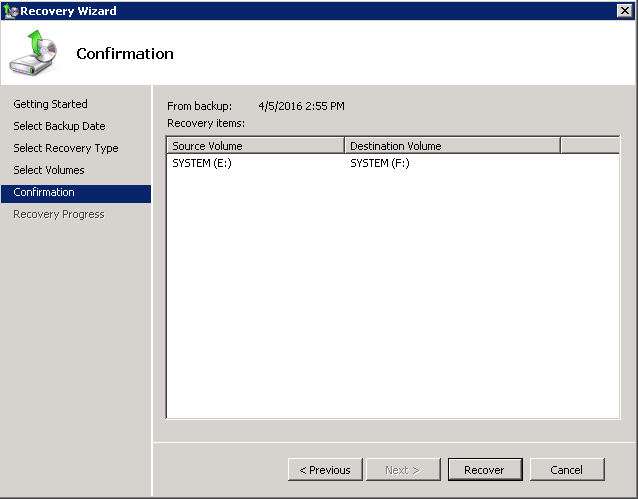
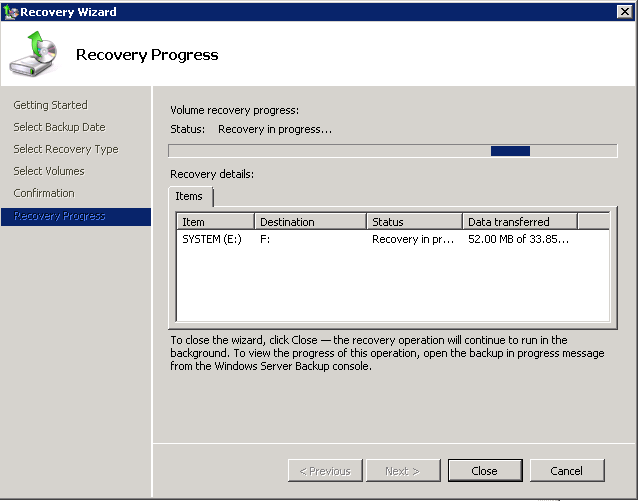
Click 'Recover'

|
|
|
Wait for the Recovery to finish
|
|
|
Click 'Close'
|
-
Fix BCD file for VMDK
|
Step
|
Detail
|
|
Unmount the Citrix vDisk. Cvhdmount -U 0

|
|
|
In the command prompt, switch to the 'Destination' drive and check the BCD file:
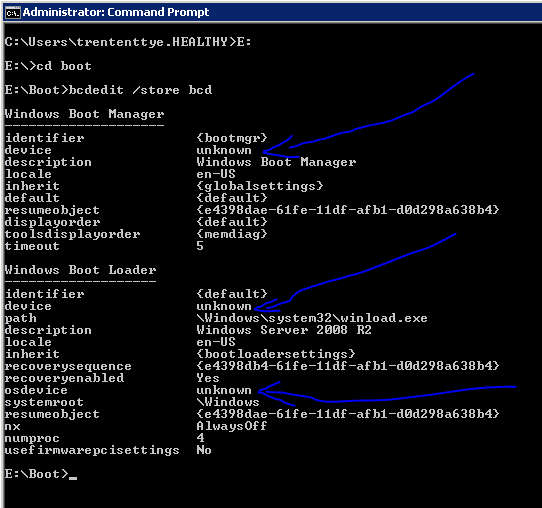
Notice there are 3 entries that need to be corrected.
|
|
|
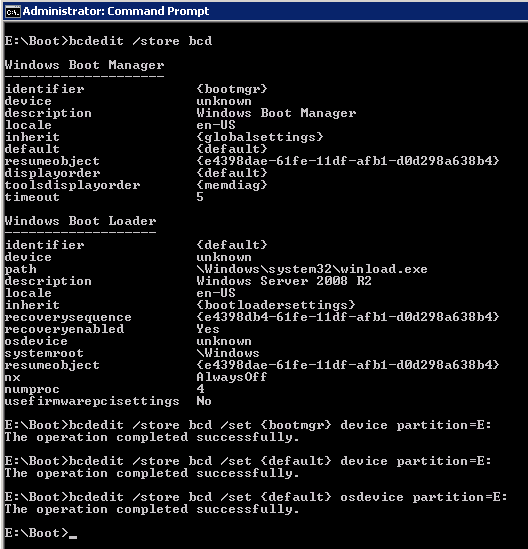
Execute the following commands, substituting the 'E:' for the proper drive letter:
bcdedit /store bcd /set {bootmgr} device partition=E:
bcdedit /store bcd /set {default} device partition=E:
bcdedit /store bcd /set {default} osdevice partition=E:
|
|
|
Confirm the BCD file now contains the correct entries:

|
-
Configure BLD Virtual Machine and attach the VMDK
|
Step
|
Detail
|
|
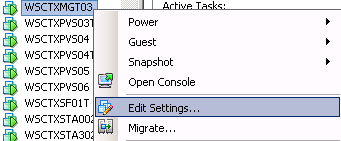
Open the vCenter console, select the staging server and 'Right-click' and select 'Edit Settings...'

|
|
|
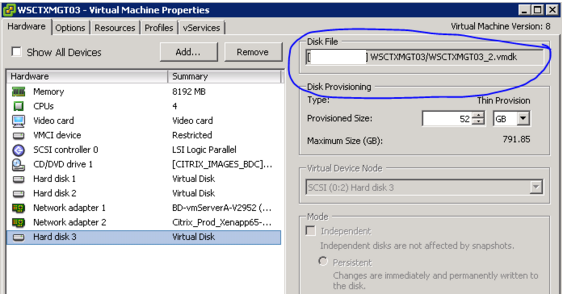
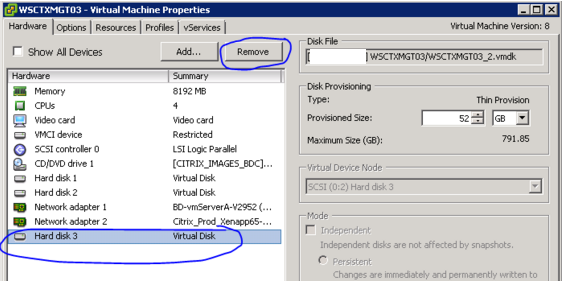
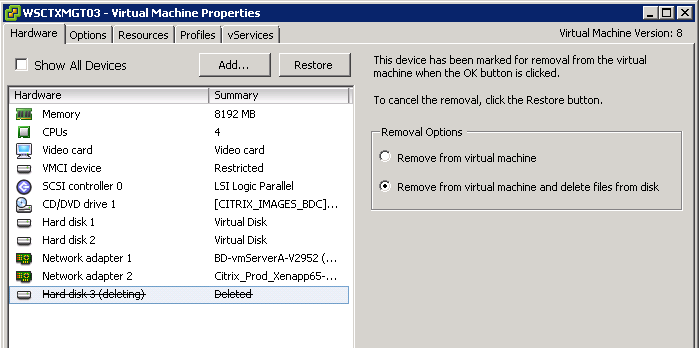
Select the VMDK file, note the path of the Disk File and click 'Remove'
|
|
|
Under 'Removal Options' select 'Remove form virtual machine' and click 'OK'

|
|
|
Select the associated BLD server of this vDisk and right-click and select 'Edit Settings...' In this example, the vDisk I am modifying is XenApp65tn01 which is associated with BLD server WSCTXBLD351T
|
|
|
Click 'Add...'

|
|
|
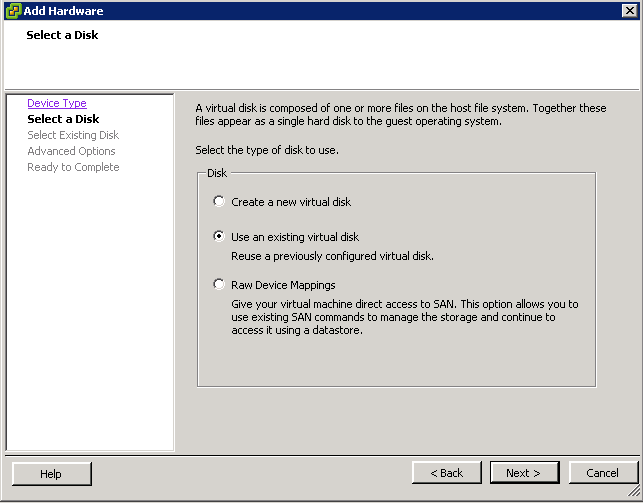
Select 'Hard Disk' and click 'Next'
|
|
|
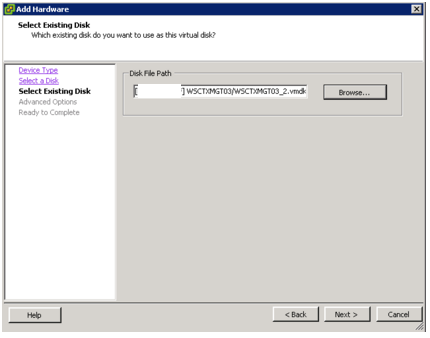
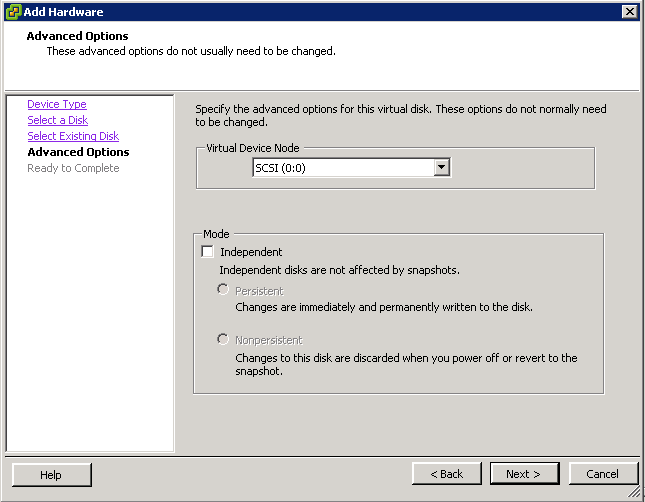
Select 'Use an existing virtual disk' and click 'Next'

|
|
|
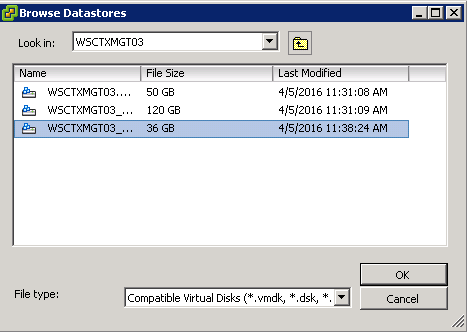
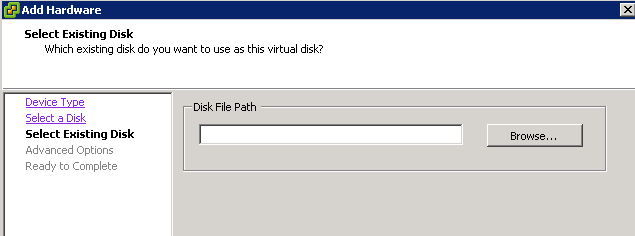
Select 'Browse'

|
|
|
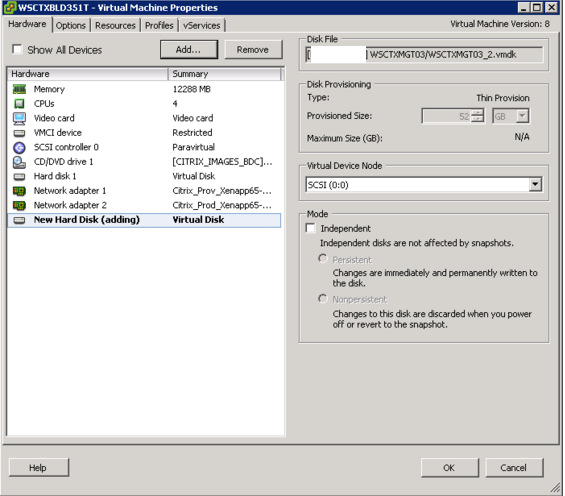
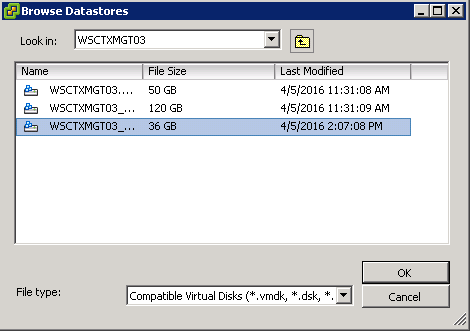
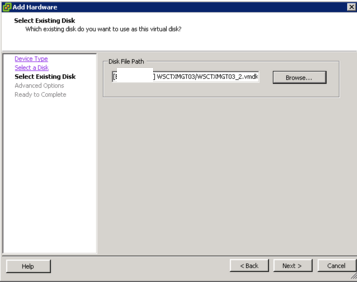
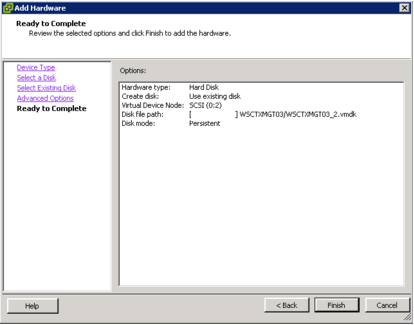
Navigate to the path noted earlier, select the disk and click 'Open'
|
|
|
Click 'Next'
|
|
|
Click 'Next'
|
|
|
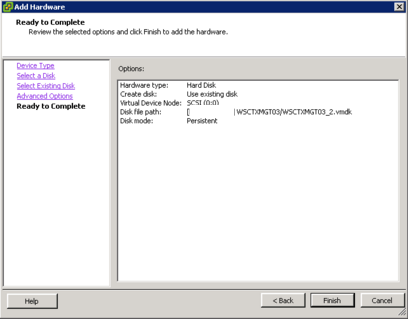
Click 'Finish'
|
|
|
Click 'OK'
|
-
Disable CDROM attachment on bootup
|
Step
|
Detail
|
|
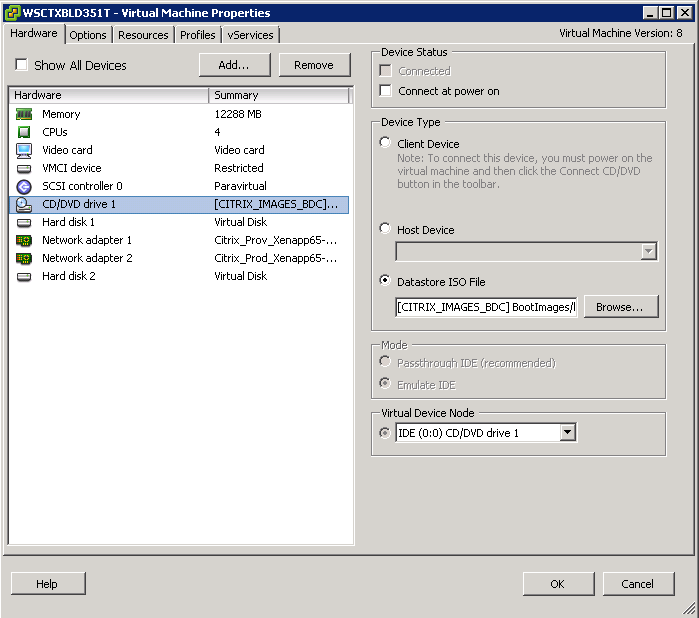
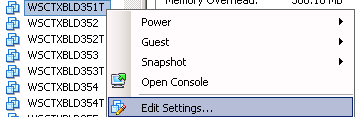
Select the associated BLD server of this vDisk and right-click and select 'Edit Settings...' In this example, the vDisk I am modifying is XenApp65tn01 which is associated with BLD server WSCTXBLD351T
|
|
|
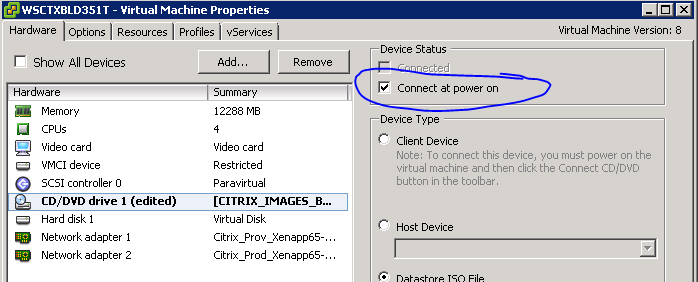
Select the 'CD/DVD drive 1' and 'Uncheck' the 'Connect at power on' and click OK
|
Start the VM and uninstall the target device software
|
Step
|
Detail
|
|
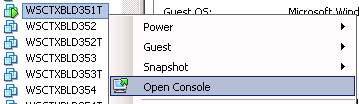
Right-click on the VM and select "Power > Power On"

|
|
|
Right-click on the VM and select "Open Console"
|
|
|
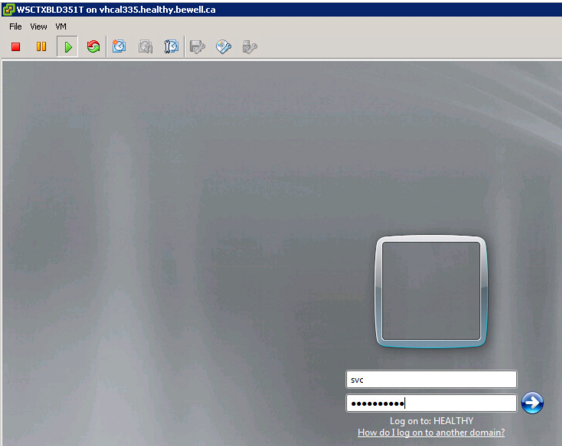
Login to the VM once it boots

|
|
|
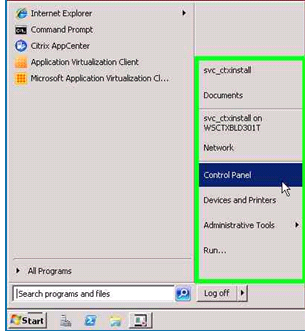
Click "Start"

|
|
|
Click "Control Panel"
|
|
|
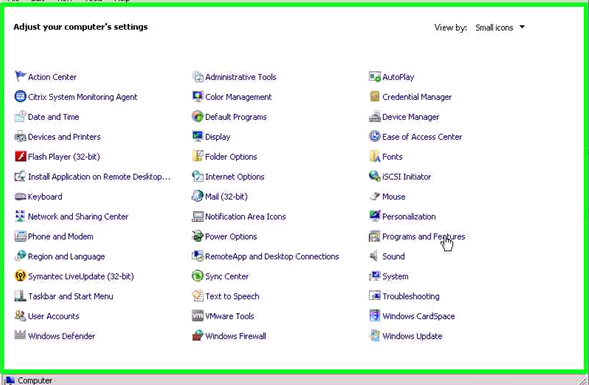
Click "Program and Features"
|
|
|
Click on the "Citrix Provisioning Services Target Device x64"

|
|
|
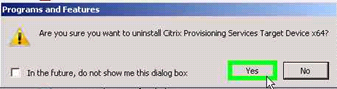
Right-click and choose "Uninstall"

|
|
|
Click "Yes"
|
|
|
Click "OK"

|
|
|
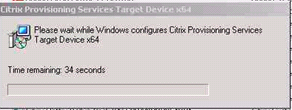
Wait for the uninstall to complete then restart the computer
|
Upgrade VMWare Tools
|
Step
|
Detail
|
|
Login to the VM once it boots

|
|
|
Browse to the VMWare Tools install and open 'setup64.exe'
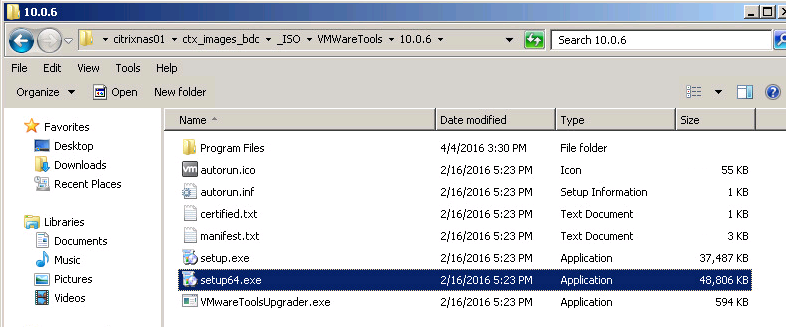
</td> </tr> | |
|
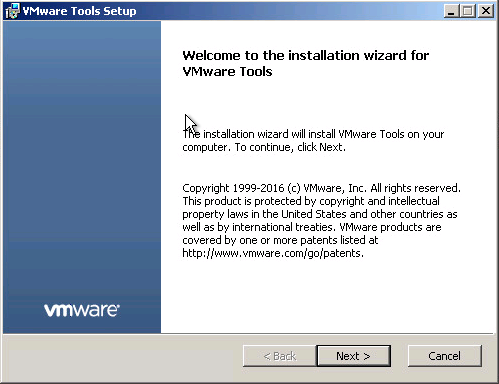
Select 'Next'
|
|
|
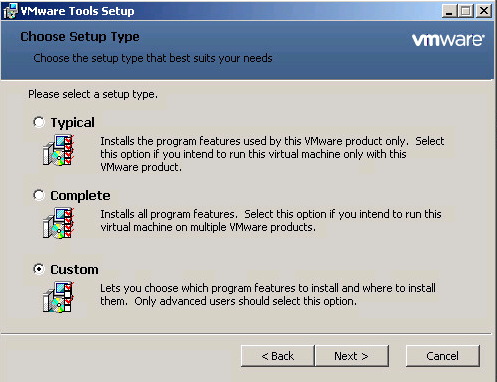
Select 'Custom' and click 'Next'
|
|
|
Ensure the 'NSX' options are set to 'Entire feature will be unavailable' and click 'Next'

|
|
|
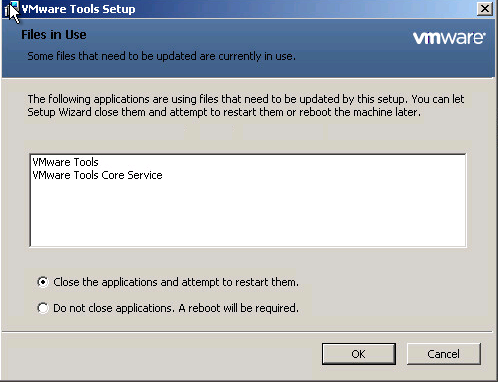
Select 'Close the applications and attempt to restart them' and click 'OK'
|
|
|
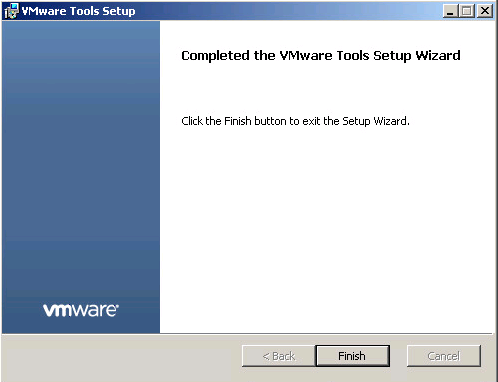
Click 'Finish'
|
|
|
Click 'Yes' to restart

|
|
Step
|
Detail
|
|
Login to the VM once it boots
|
|
|
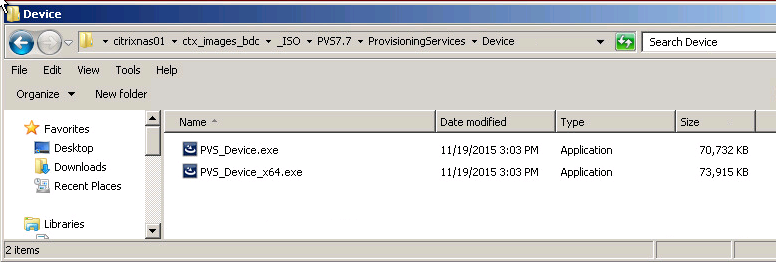
Browse to the share that holds the updated software and open 'PVS_Device_x64.exe'
|
|
|
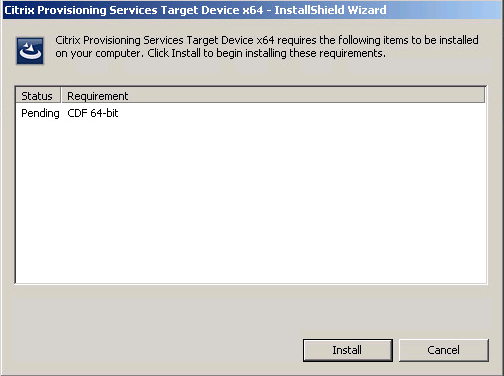
Click 'Install'
|
|
|
Click "Next"

|
|
|
Select 'Acknowledged' and click 'Next'

|
|
|
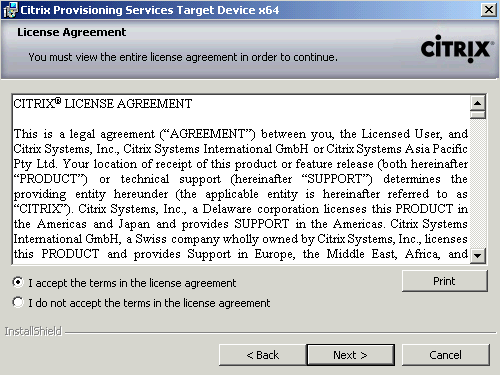
Choose "I accept the terms in the license agreement" and click "Next"
|
|
|
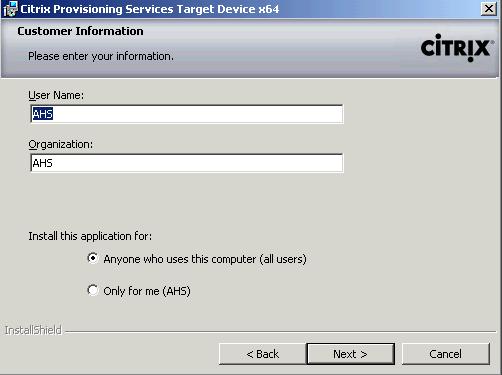
Click "Next"
|
|
|
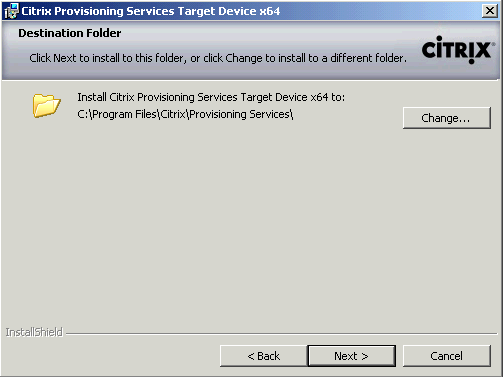
Click "Next"
|
|
|
Select 'Complete' and click 'Next'

|
|
|
Click "Install"

|
|
|
Uncheck "Launch Imaging Wizard" and click "Finish"

|
|
|
Click "Yes" To restart the computer.

|
-
Remove VMWare Disk from BLD server
|
Step
|
Detail
|
|
Right-click the VM and select 'Edit Settings...'
|
|
|
Select the VMDK disk, note the 'Disk File' path and click 'Remove'

|
|
|
Ensure 'Remove from virtual machine' is selected and click 'OK'

|
|
|
Select the CD/DVD Drive and check the 'Connect at power on' box and click 'OK'
|
-
Clone VMDK to VHD
-
Backup VMWare Disk
-
|
Step
|
Detail
|
|
Right-click on the staging server and select 'Edit Settings...'
|
|
|
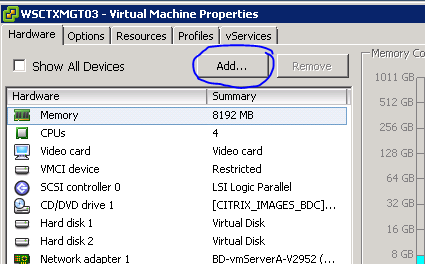
Select 'Add...'
|
|
|
Select 'Hard Disk' and click 'Next'

|
|
|
Select 'Use an existing virtual disk' and click 'Next'
|
|
|
Click 'Browse' and select the disk you noted earlier
|
|
|
Click OK
|
|
|
Click 'Next'
|
|
|
Click 'Next'
|
|
|
Click 'Finish'
|
|
|
Click 'OK'

|
|
|
RDP into the staging server, browse the backup drive and delete the contents of 'WindowsImageBackup'
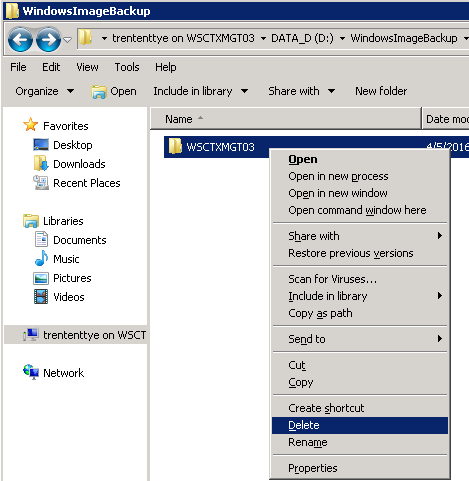
</td> </tr> | |
|
Open Disk Management and confirm your VMDK is mounted

</td> </tr> | |
|
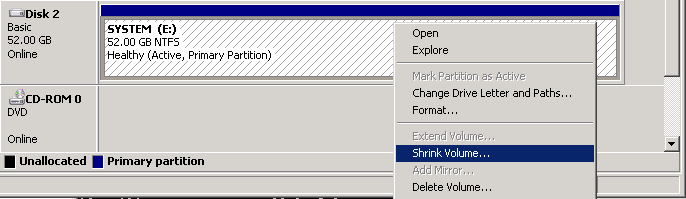
Right-click on the VMDK and select 'Shrink Volume...'
|
|
|
Enter a number to shrink the partition so it is *smaller* then your Citrix VHD disk size

NOTE If you do NOT shrink the partition you will be unable to restore the partition to the smaller Citrix VHD file.
|
|
|
Confirm the shrink worked successfully

|
|
|
Open 'Windows Server Backup'
|
|
|
Click 'Backup Once...'
|
|
|
Select 'Different options' then 'Next'
|
|
|
Select 'Custom' than 'Next'
|
|
|
Select 'Add Items'
|
|
|
Select the VMDK disk and click 'OK'

|
|
|
Click 'Next'
|
|
|
Select 'Local drives' and click 'Next'
|
|
|
Select the 'Backup Destination' and click 'Next'
|
|
|
Click 'Backup'

|
|
|
Wait for the backup to complete
|
|
|
Click 'Close'
|
|
|
Go to the vCenter console and Right-click on the staging server and select 'Edit Settings...'
|
|
|
Select the VMDK used for updating VMWare Tools/Target Device software '' and click 'Remove'
|
|
|
Select 'Remove from virtual machine and delete files from disk'
|
|
Step
|
Detail
|
|
RDP into the staging server and mount the VHD file you want to update:
Cvhdmount.exe -p 1 \serversharevDisks-&XenApp65tn01.13.avhd
|
|
|
Open 'Windows Server Backup'
|
|
|
Click 'Recover'
|
|
|
Select 'This server' and click 'Next'
|
|
|
Click 'Next'
|
|
|
Select ''Volumes' and click 'Next'
|
|
|
Select the checkbox beside the volume and choose the 'Citrix vDisk' for the destination volume and click 'Next'
|
|
|
Click 'Yes'

|
|
|
Click 'Recover'
|
|
|
Wait for the Recovery to finish
|
|
|
Click 'Close'
|
-
Fix BCD file for PVS vDisk
|
Step
|
Detail
|
|
In the command prompt, switch to the 'Destination' drive and check the BCD file:
Notice there are 3 entries that need to be corrected.
|
|
|
Execute the following commands, substituting the 'E:' for the proper drive letter:
bcdedit /store bcd /set {bootmgr} device partition=E:
bcdedit /store bcd /set {default} device partition=E:
bcdedit /store bcd /set {default} osdevice partition=E:
|
|
|
Confirm the BCD file now contains the correct entries:
|
This process could be scripted to make it less manual, faster, and less error prone, but because of the frequency we actually do these type of updates, I have just created a manual document for now.